

ShredLights Photo Guide:
Hey all, my name is Josh. I have been taking images for ShredLights for the last two years. I have been studying and experimenting with photography for the last fifteen. I started by taking pictures with friends just skating around town and the local skateparks. As I got older I got into bigger and more produced imagery. taking a view into the commercial and editorial space working as an assistant photographer and creating portraits of different scales on my own.
In this intermediate to advanced photo guide I will help shed some light on, brand imagery and what we love to see at the Shredquarters. I will define why adding whitespace to an image is useful, what is the best time to shoot (in my opinion), and where you can shoot all day long. I will also describe why thinking about a composition first matters and export resolutions for the web. I'll also give you examples of images I took that didn't hit the bar for me and some community members that have done some great work as examples. I have seen some great images come out of the community and wanted to share what we think can make for a cohesive style and brand identity.
What we want to show
At ShredLights we are not just about riding into the sunset and shredding through the night. We also care to keep the community of riders safe. We want to show the best vehicles and rad night rides and how a future affiliate, ambassador, commuter, and rider alike can excel at riding safety and lifestyle with us on their boards, vehicles, and gear.
|
|
|
|
|
|
|
|
|
|
|
|
|
|
|
|
|
|
Find out where to send your images for instagram after reading below!
Subject placement
"Weighted" Images - simply just move your subject to a portion of the composition, leaving us an area or "whitespace" to add our text, logos, and copy. This works really well when creating content for emails, ads, and such.
"Centered" Images - centering the images can also work. Just keep in mind that we need enough whitespace around the image, and it can easily be cropped if we need to. When in doubt, center it out! Centered images are an easy way to balance an image and almost always work for a great I.G. or story post.
This isn't a true rule but just a guideline, so if you have some great photography and you're unsure, send it to me anyway!
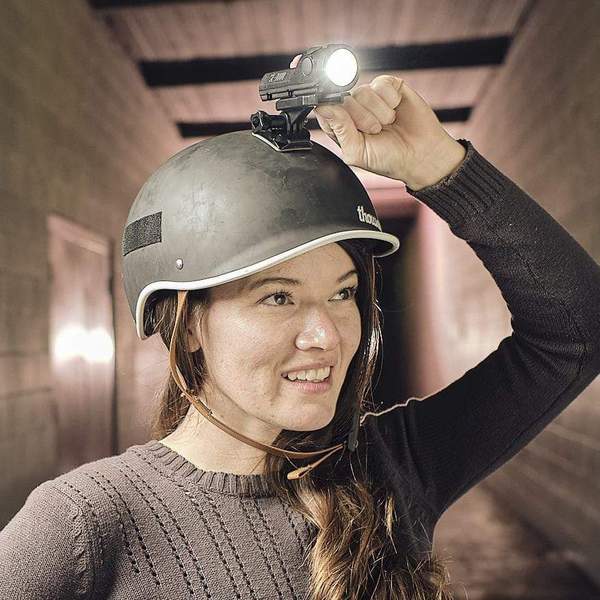
Details of subject (the light vs. the rider vs. your dog)
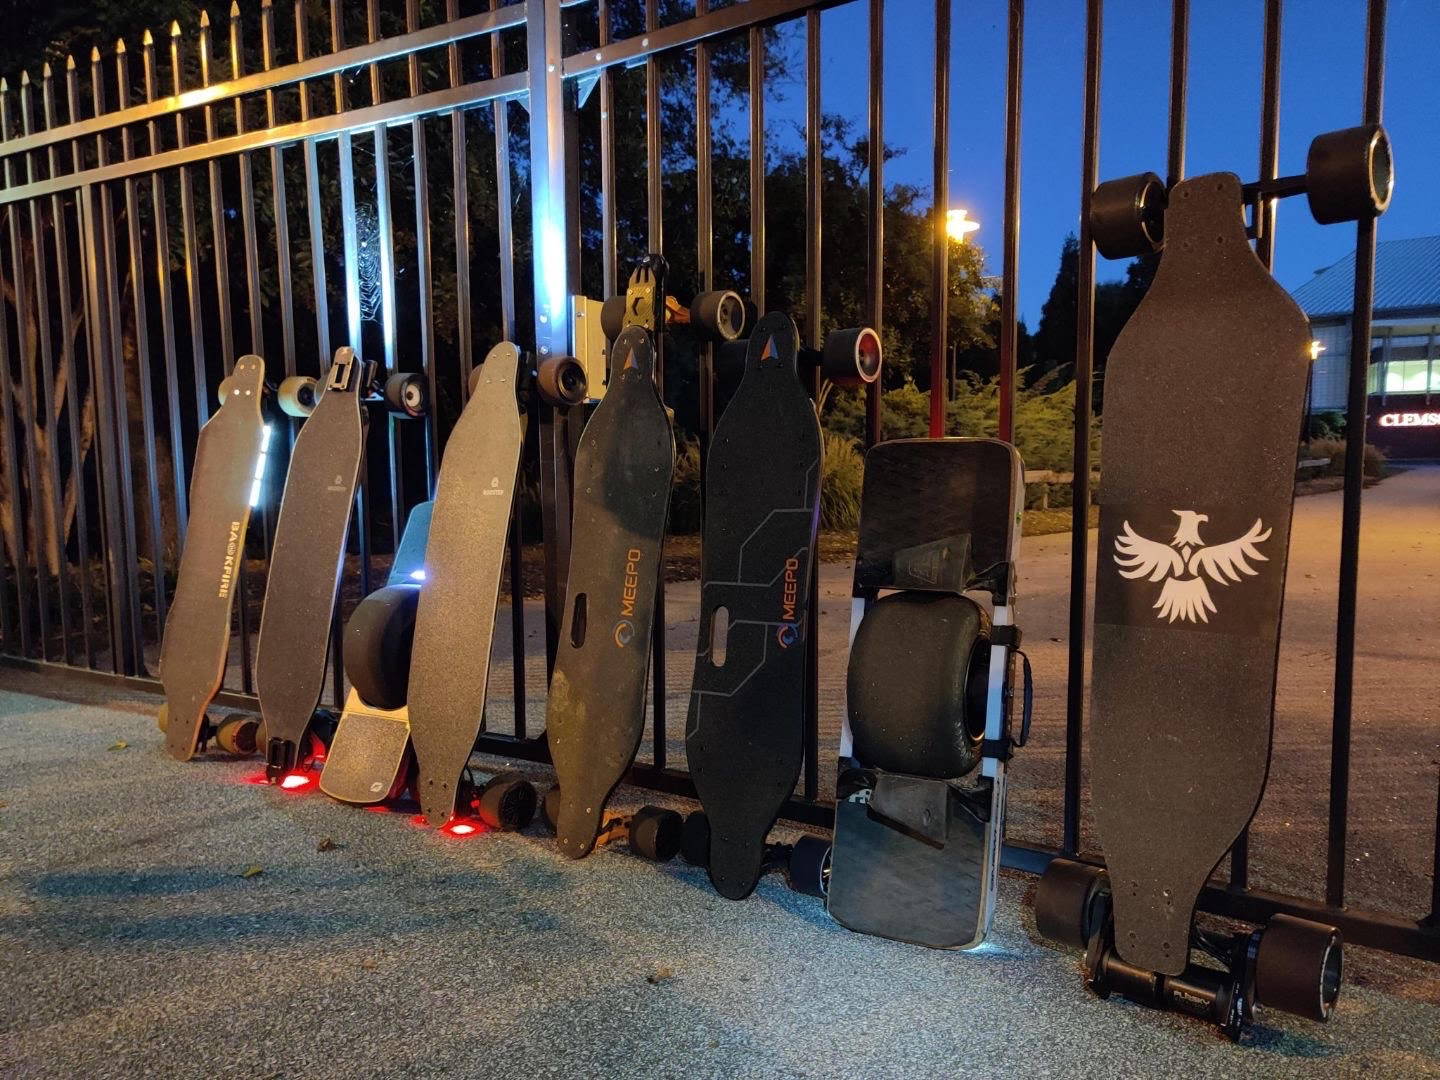
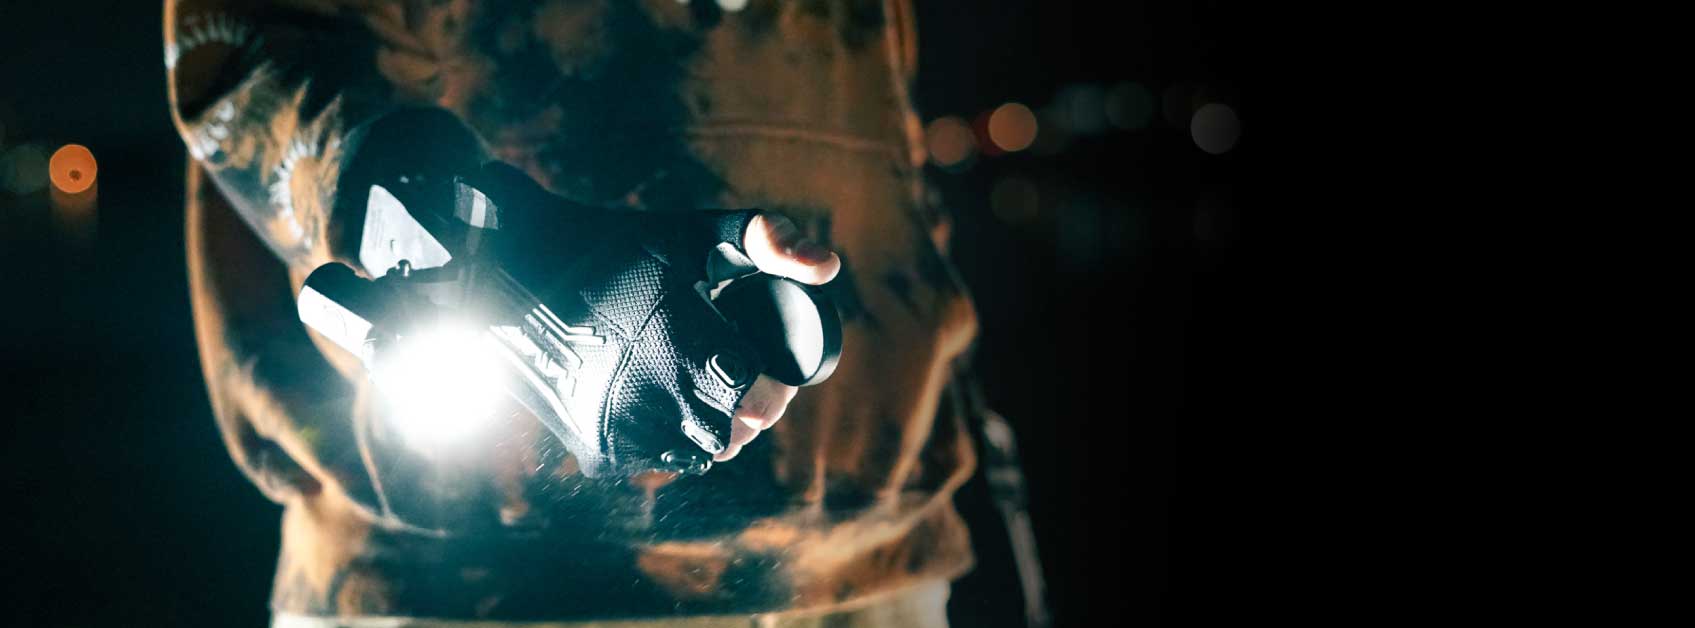
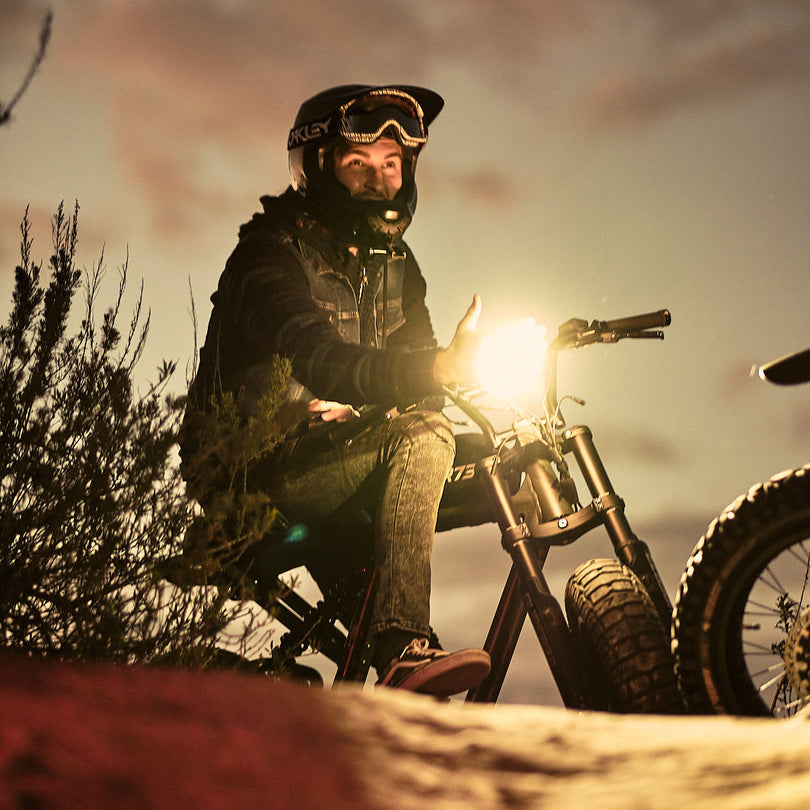
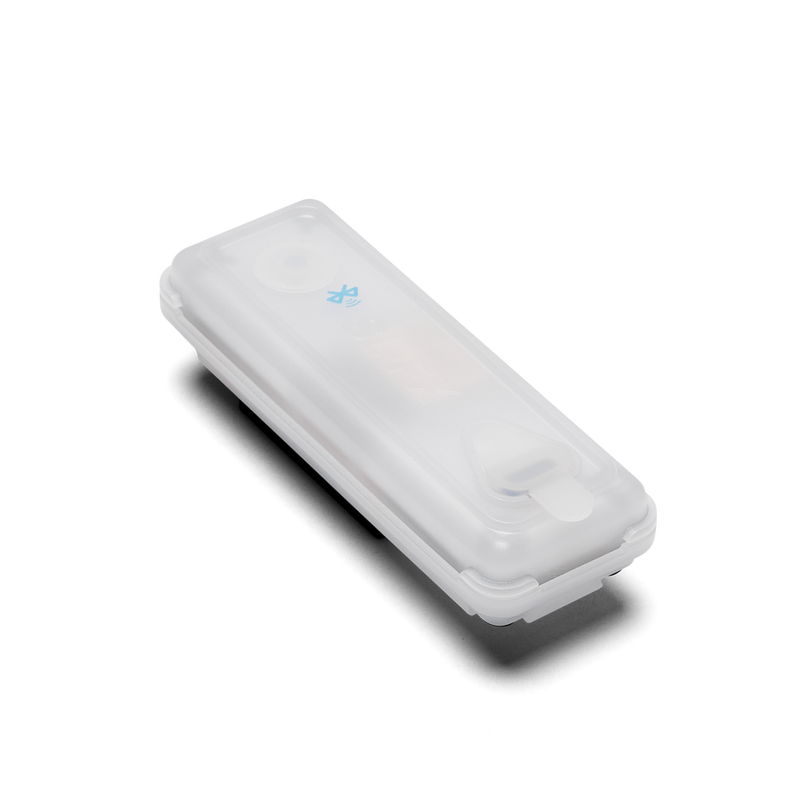
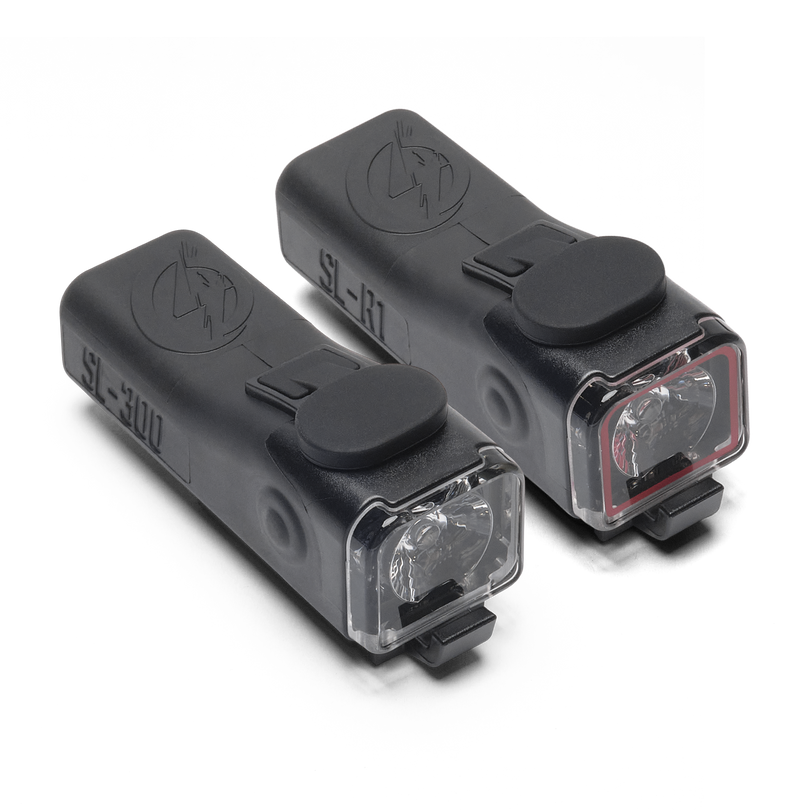
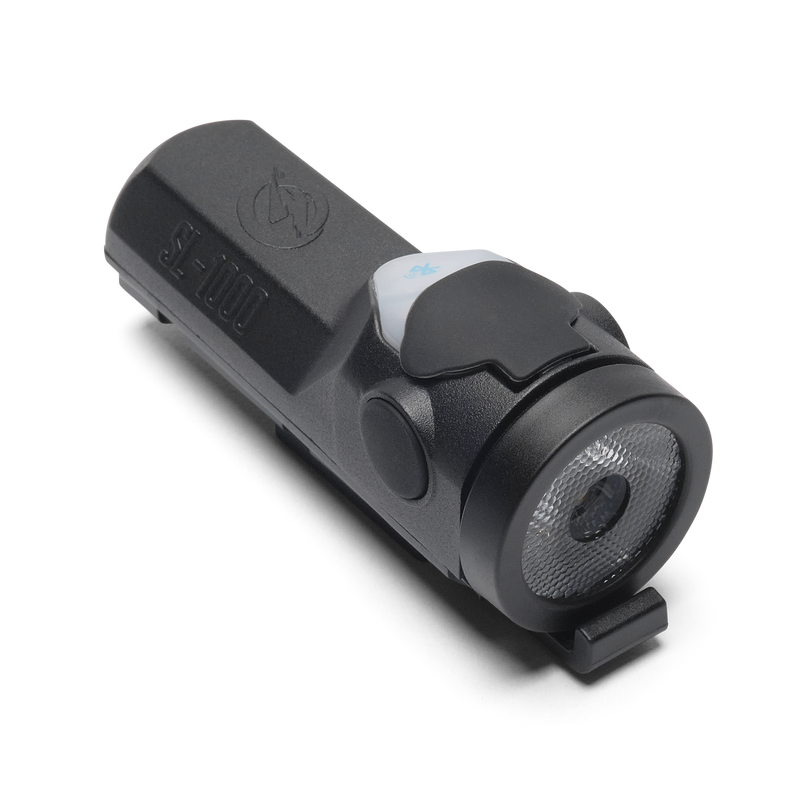
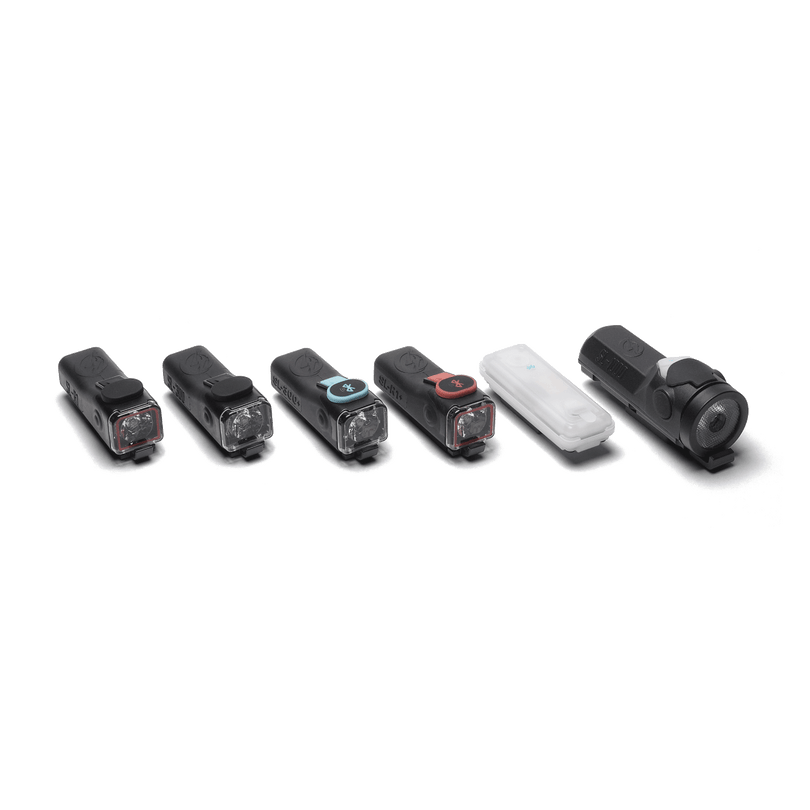
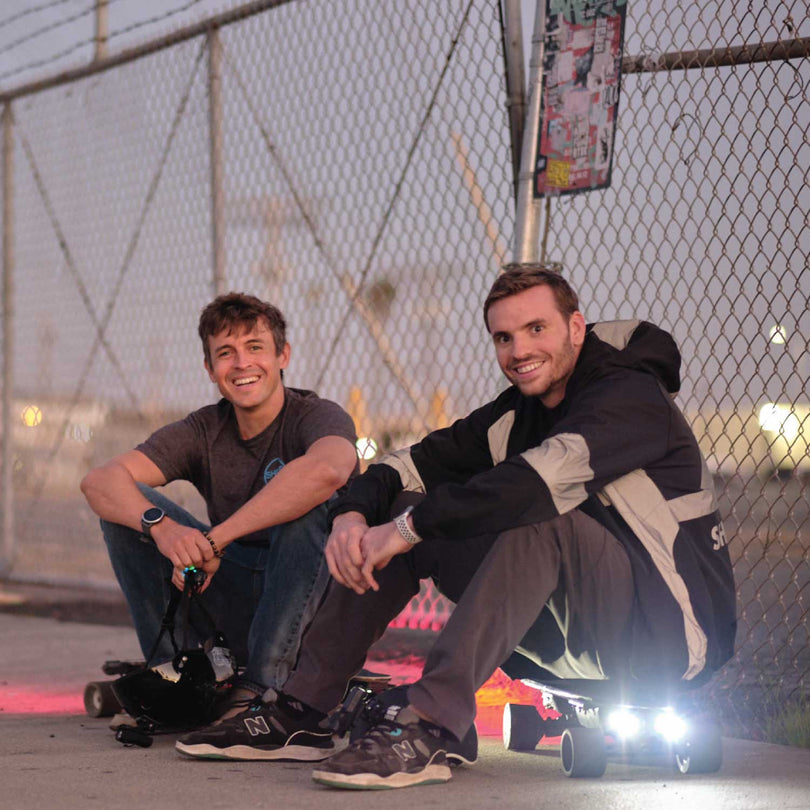
The image is all about the details...or subject...is it the SL-200, SL-1000? How about the rider? The best images (for us) show off how we use ShredLights in action, whether it's a slow day or going at max speed, mounted on your best vehicles, or even clipped to your dog's collar! Interesting images make great stories without saying a damn thing. Be clear of what you're presenting.
What more can you do with ShredLights? What other activities are you doing with ShredLights? We want to know!
Examples are from the #ShredLights Community.
Time to Shoot and what that means for images
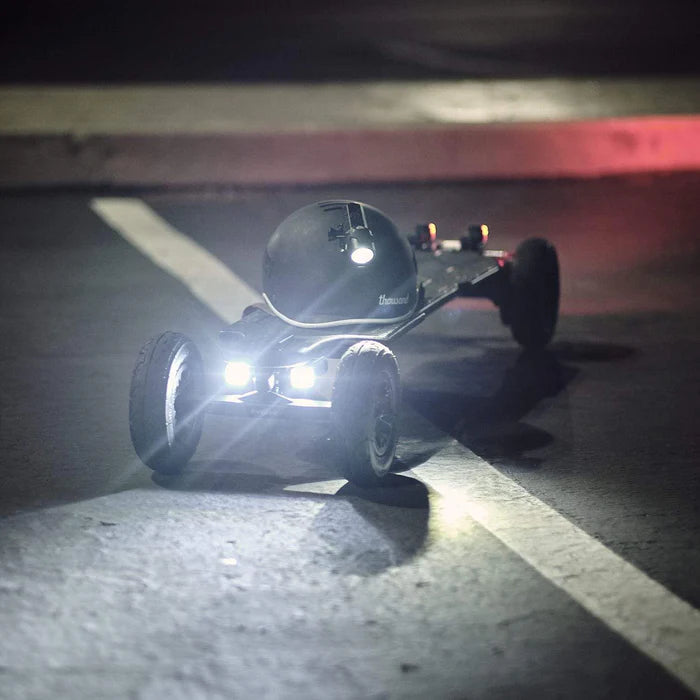
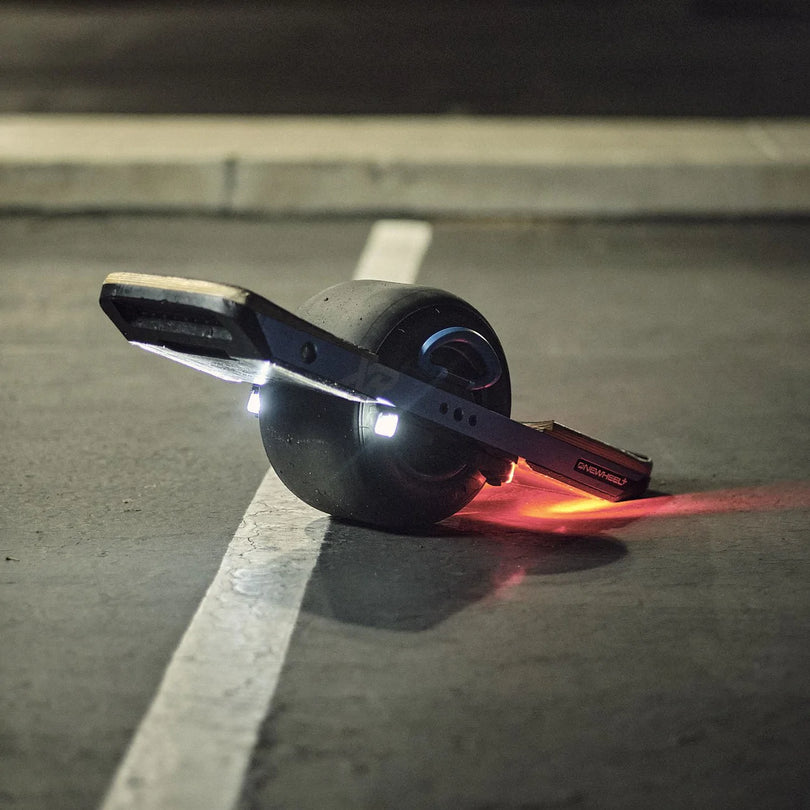
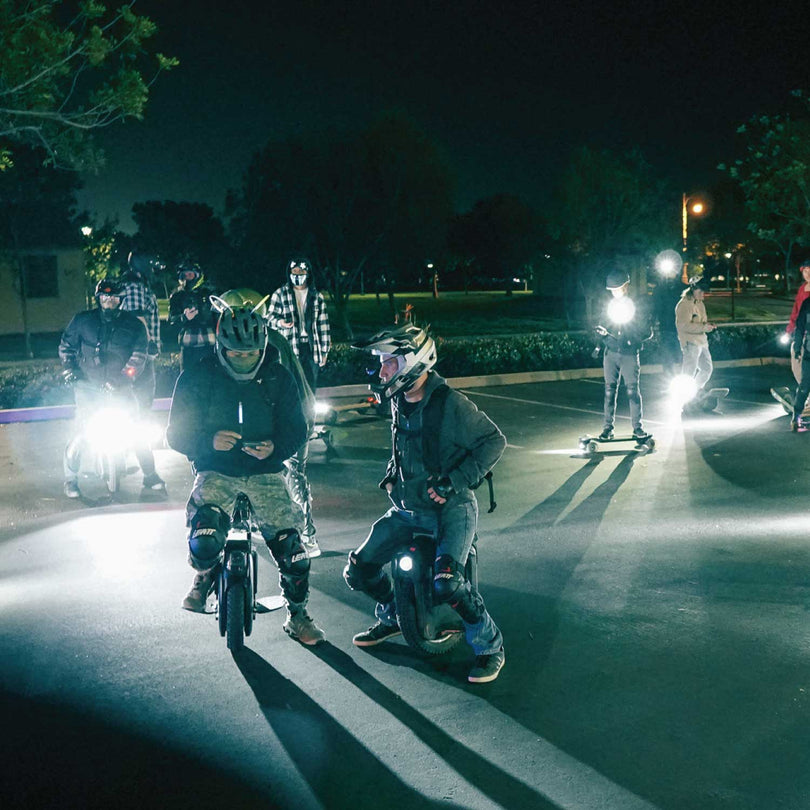
The pictures that have resonated the most with us are images shot in the late evening when the sun is down, and the sky still has some color in it. I'm not talking about golden hour but just after. This is called blue hour. Blue hour is an extremely small amount of time to get some killer shots in, especially when you're chasing your shutter speed, iso, or aperture. Blue hour is also great because you're keeping the depth in the sky and adding in the flair of the street lamps, cars, and most importantly, the SL-200 or SL-1000
If you can't wake up for the morning blue hour or catch the setting one, it's always best to just shoot in an area that has enough light to present the subject to the viewer. Remember, just because it's well lit doesn't mean the small SL-200 will look dim. A Lot of the lights that are around us are HPS/LPS (high/low-pressure sodium), Fluorescent/Compact Tubes, Induction, Ceramic, Neon, and they are all low lumen lamps the SL-200 will certainly still be bright in the frame.
Conversely, dark night shots can easily lead to digital noise (noise and grain are not the same thing) by ramping up to your highest iso range. So unless your camera does well with shooting in low lit environments stick to some more well lit spots. (don't be fooled by some camera manufacturers, a high iso doesn't mean you get electronic noise free images)
Shooting anytime
Sometimes we just need to scratch that itch to take photos of the things we love to do, right? If you want to create images at any time or all day and be home for dinner. The best place would be a………...I can't say it by name for legal reasons (a place where cars park that rhymes with mirage) these spots have the same lighting throughout the day. So your images will have just as much consistency as shooting outside at night. If it is too bright, then stop down or up for aperture and create the mood in camera. Consider the exposure triangle and create the exposure square with some variable neutral density if you're not getting what you want.
Crop factors
We don't want to crop your great images! One of ShredLights top content drivers is our Instagram (@shredlights @shredlights.anz). As many of you know, Instagram will crop your images to fit the ratios of the platform. So, when you start to compose an image, start with the composition and think about the ratio that you want to upload to Instagram. I'm not a fan when people crop my work. I don't want to crop yours either. You can easily find the crop factors by taking a quick google search.
For a little more depth. The factors are as follows
-1.91x1/1080x608 (most straight forward. Virtually what's coming out of your camera. This will have a slight variance. Cameras that shoot native 16x9 mainly phones in landscape orientation. micro 4/3, aps-c, FF digital/film will work natively without cropping
-1x1/1080x1080 (easy to conceptualize when looking at the LCD on your camera, unless your camera has the option to set square. Usually found in the sub-menus on image quality)
-4x5/1080x1350 (4x5 is a print and medium format ratio. Harder to compose on aps-c and full frames. Best rule of thumb is just to give the subject some room to breathe, either on the top or bottom of the frame.)
All this crop stuff just means to be intentional with your compositions. Don't let the Instagram app dictate your photographic composition and aesthetic. You got some wiggle room in post. Photography doesn't start and end in the camera.
If you're thinking that your image could be better for use on the website or other marketing, we are open to your camera's native ratio and at full resolution.
Where to send at the end of this article.
(quick link to google search: https://tinyurl.com/y6gg3obo)
*Image: https://www.tailwindapp.com/*
Creativity (long exposure & color gels/led/lights)
Long exposures and color gels are a great way to add depth, movement, and overall quality to an image. Especially shot at night when the sensor is lacking in absorbing light. In my opinion, there are only two issues with this.
The first is in long exposure over amplifying what the light can actually do. For an aesthetic look, it can work, but for ShredLights it may not. We want to show what the light actually does, not what your camera can do. There's room to play, but don't set your camera on bulb and light up the whole street and then some. Light trails and creativity are great! And certainly fun, although we do need to stay very close to the light's actual lumen output. Simply put, long exposure light trails are good, long static exposures not so good.
The second is too many colors. Pick one, pick some, or pick none. Unless you're a unicorn riding the reading rainbow, try to stick to a color scheme. Let the colors drive the look. Less is sometimes more.
Processing/export
Simple last steps. We currently don't make prints that need to be in the highest resolution your camera can make. So when you are exporting your final edits, be sure to make these "web-ready."
The standard is 72dpi. I usually set the maximum "long edge" to 1800px. If you want to go the extra mile after you resize the image, lightly sharpen the final edit. This will still look good on the web without having viewers load a high res image on their computers. It takes time(loading), space, and patience when the file is too big.
Instead of adding another preordained preset/lut/action or whatever to your archival adobe suite. I'll just say this. Cold tones in the shadows and warm in the highlights and edit for the colors that are already present in the image. That's all I ever do for ShredLights. Everything else is either practical or a micro-adjustment in the white balance.
FINAL WORDS
Take these notes as guidelines, and we will get perfect images for social media. Think of them as rules, and you’ll be helping build a brand identity. A quick thanks to all the Ambassadors already making it count!
Send your content to ShredLights@submit.media
Drop me a line at josh.parker@shredlights.com
More Images from the #ShredLights Community.