Easily Install Lights on Your Helmet or Backpack
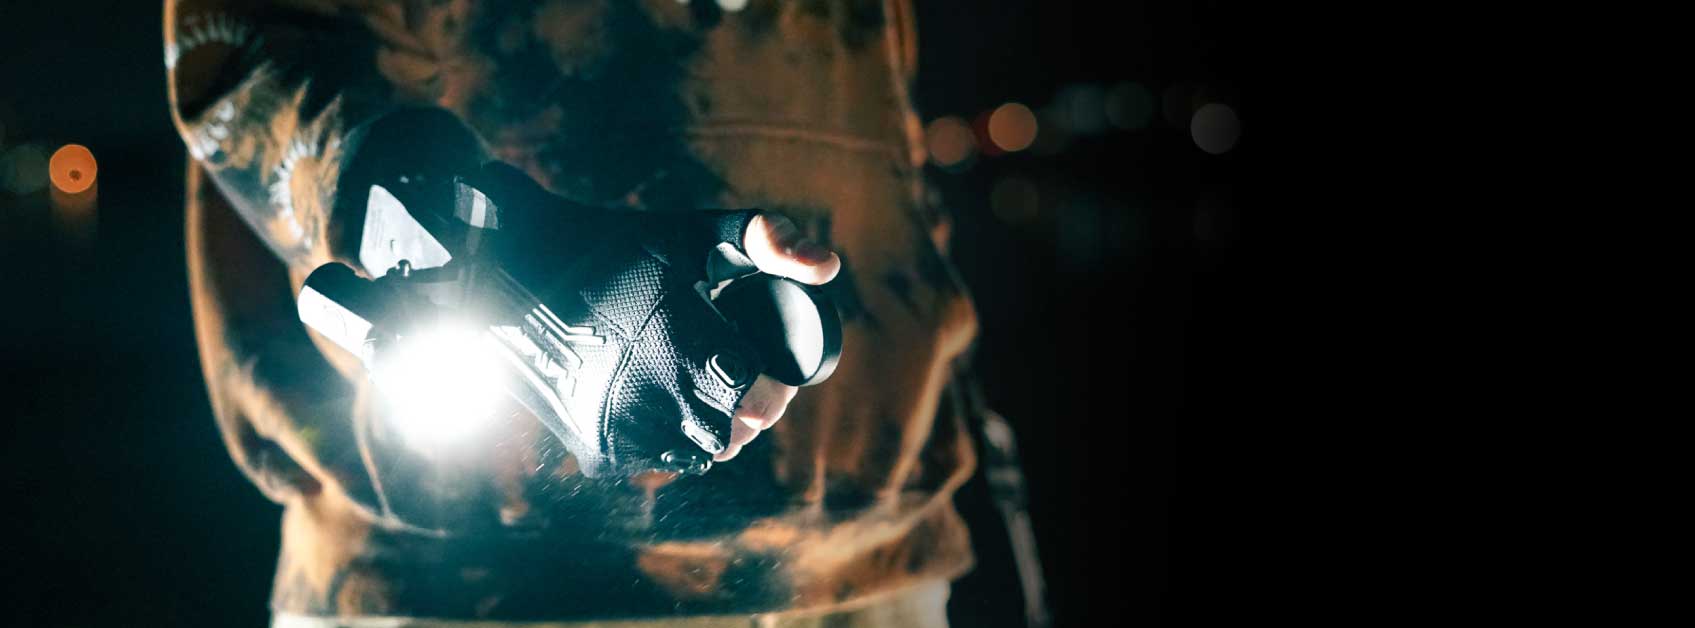
Adding lights to your helmet or backpack will significantly increase your visibility by throwing the light further and decreasing shadows in your field of view. In this post, we'll cover how to install ShredLights on any helmet or backpack using the sticky mounts and action clip.
To install ShredLights on any helmet, you'll need the curve sticking mount.
We recommend testing the light angle and placement on your helmet before installation. Once you're happy with placement, remove the backing and place the strip of duloc directly onto your helmet. Then firmly pressed the sticky mount into place to gain both sides of the lock for a secure hold. You can easily remove the mounts to adjust the light angle swap between helmets and maintain a low profile look when not in use.
To install ShredLights on any backpack, you'll need the action clip.
Start by screwing the action mount into place and squeezing the back of the clip to open the front teeth. Then placed on your backpack. Once you have the mounts in place, install the SL 200 by sliding the light into the mount until the S-lock clicks into place. To remove, push down on the S-clip and push on the back of the light to it slide out of the metal.
If you have any other questions, please reach out to support@shredlights.com. We're always more than happy to help!

