


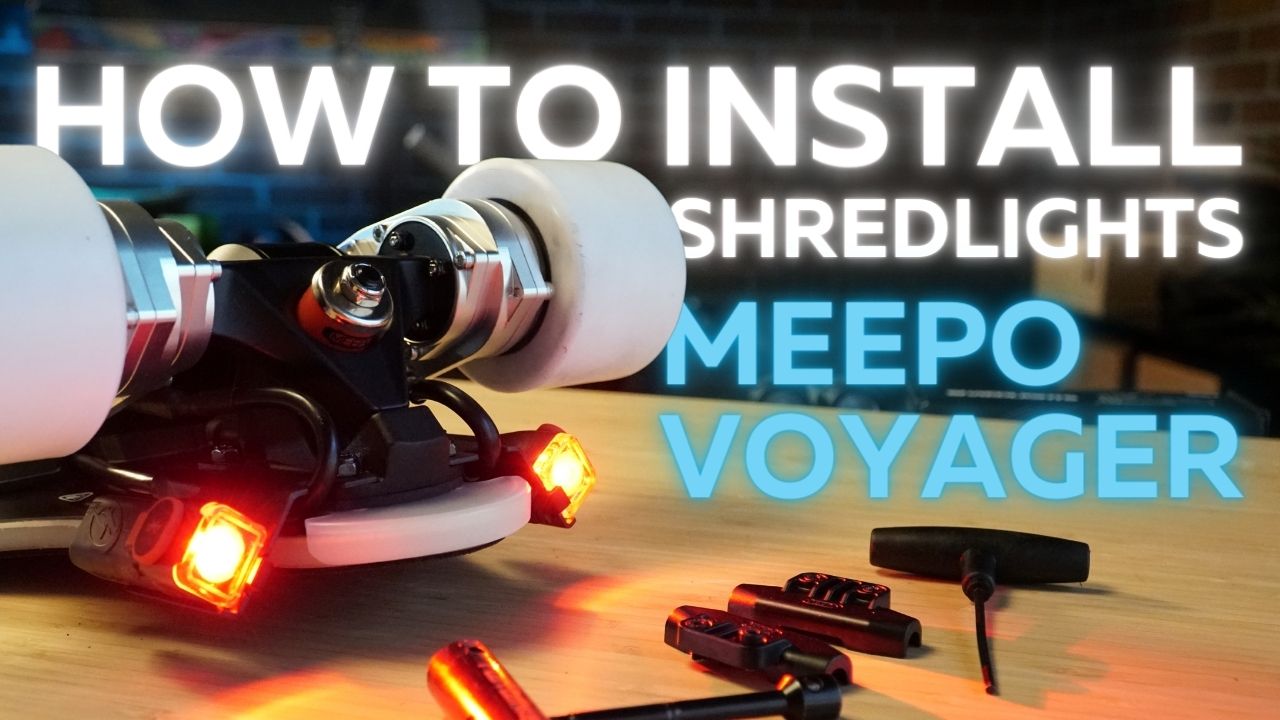
This installation guide shows how to install lights onto the Meepo Voyager electric skateboard. This tutorial features the new gear drive, but it also applies to the Meepo V5, Meepo Envy NLS 3 (also the Aurora Version), Meepo V3S and other any other electric longboards with pintail and pin-nose deck designs like the Backfire G2, S2, Zealot, and Exway Flex.
If you have questions about a specific brand or model, you can always refer to the skateboard fit guide or contact us so we can help you find the best mounts for your setup.

Installing Standard Mounts onto the Front Trucks
Let’s get started with installing the standard mounts onto the front trucks.
It makes easier to place the board on it’s side and you can use the ShredLights box to hold it up here. The Meepo Voyager has grip tape covering the top bolts so you can’t access them, but the grip holds them in place tight enough so you can just go straight to loosening the bottom nuts without peeling back the grip.
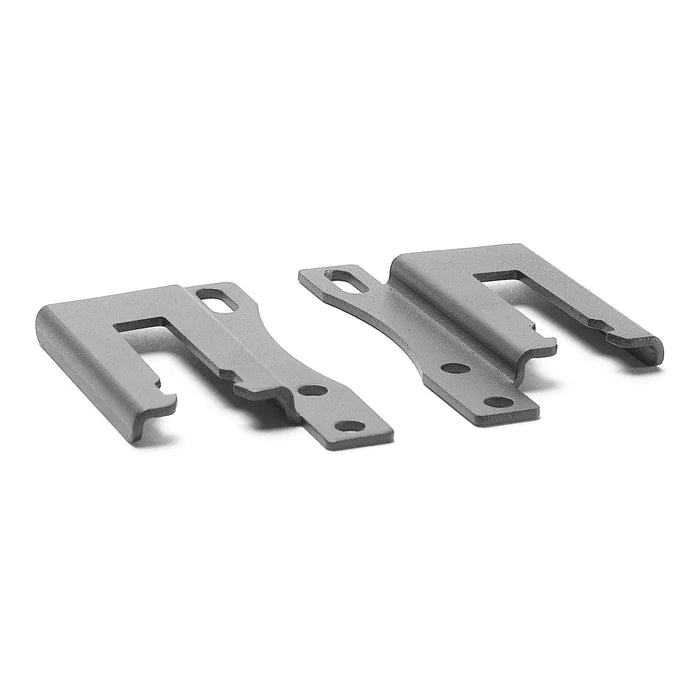
We recommend installing the mounts one side at a time so you don’t have to completely remove your trucks. Once the nuts are removed, place the standard mount onto the bolts with the bend facing away from the deck and tighten the nuts back on.
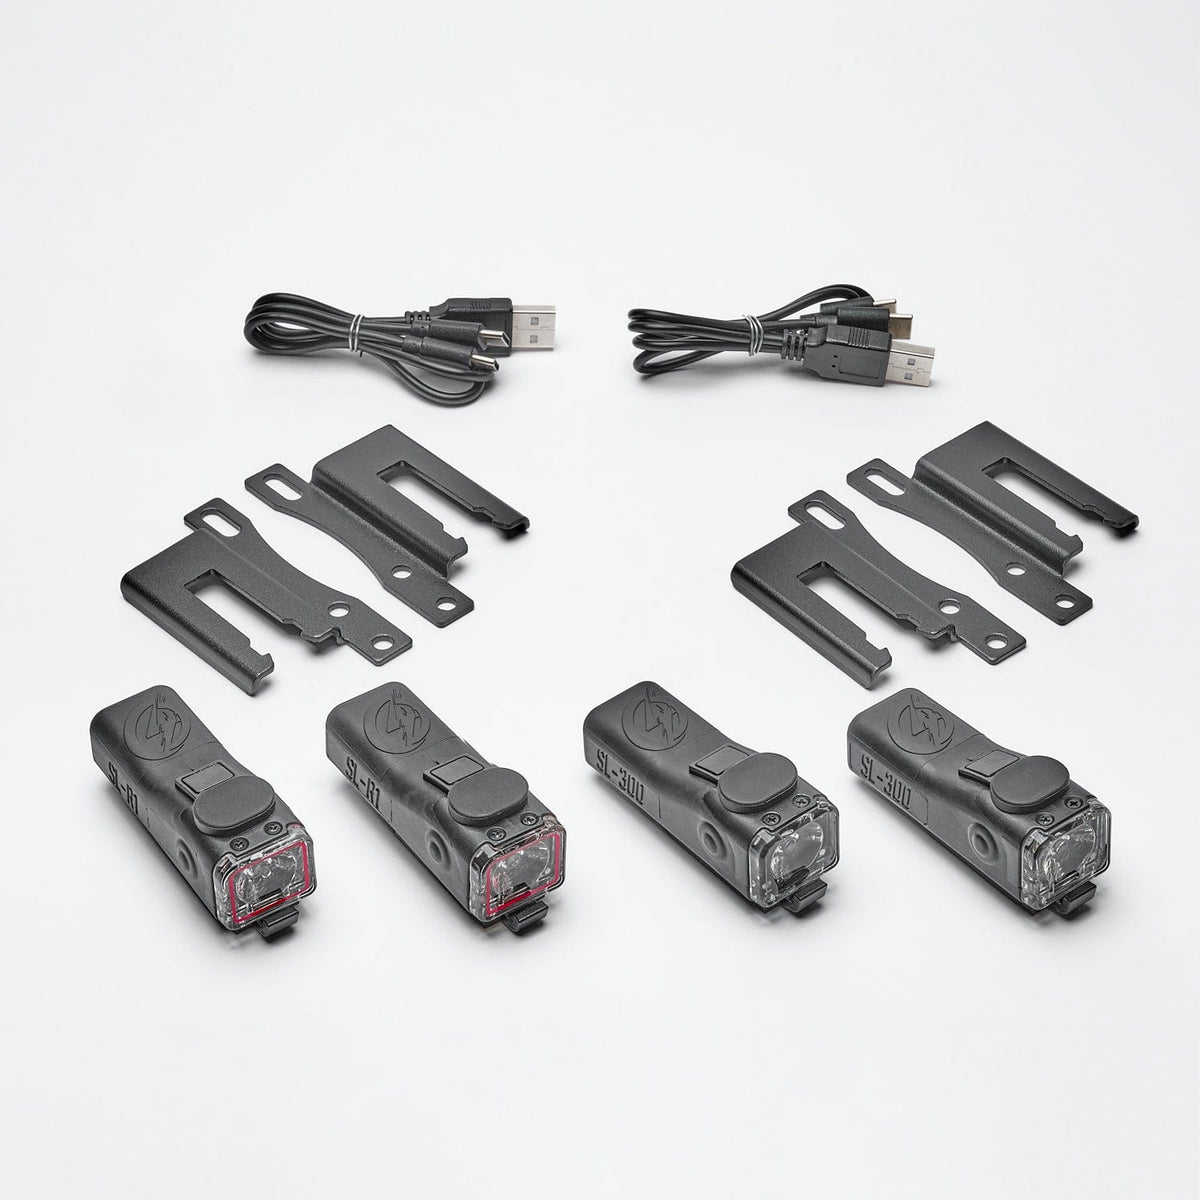
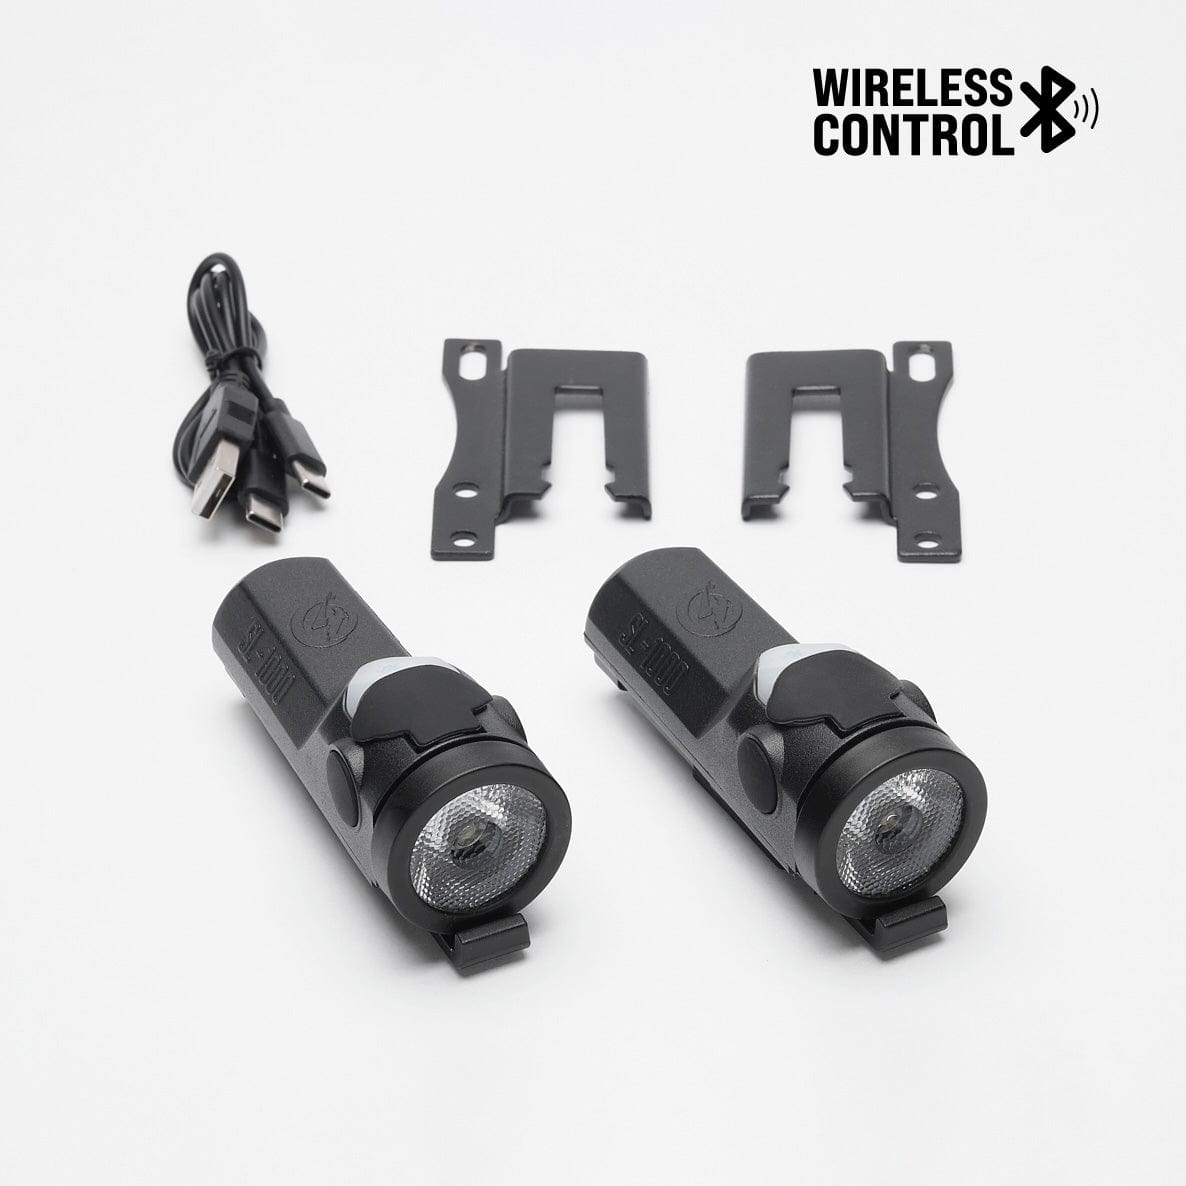
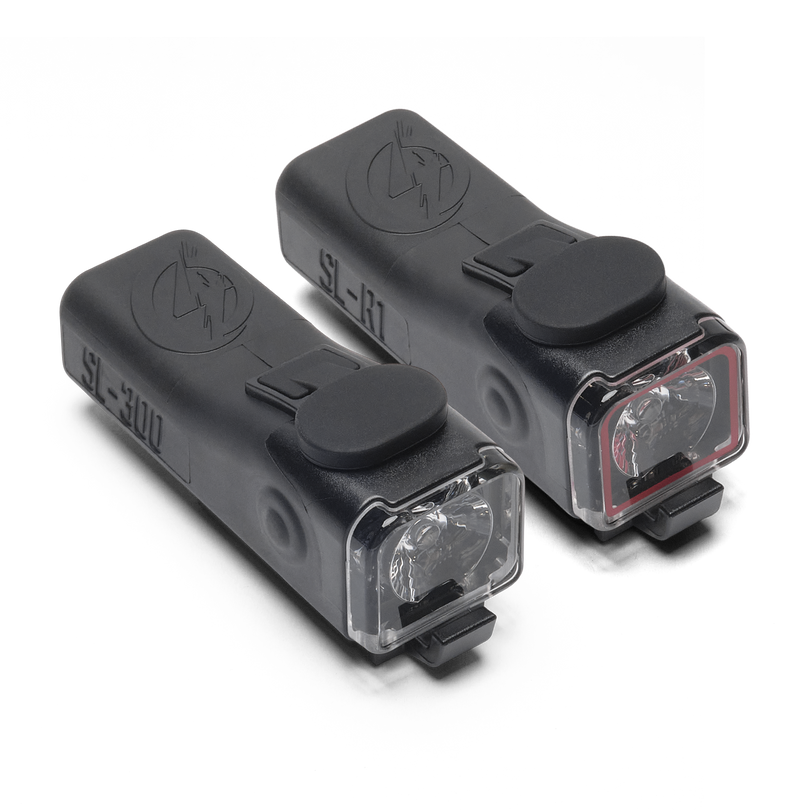
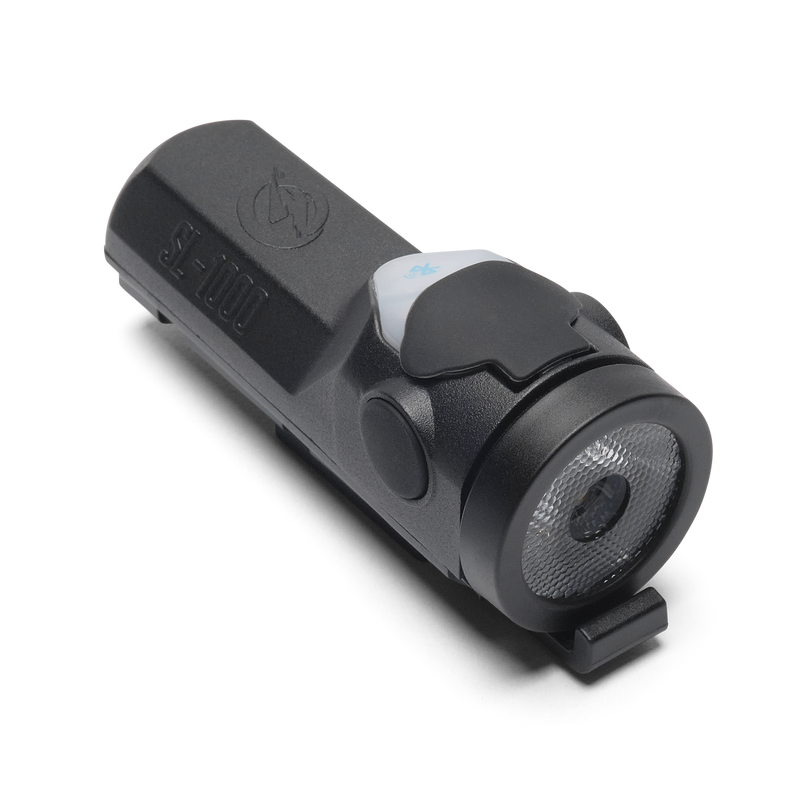
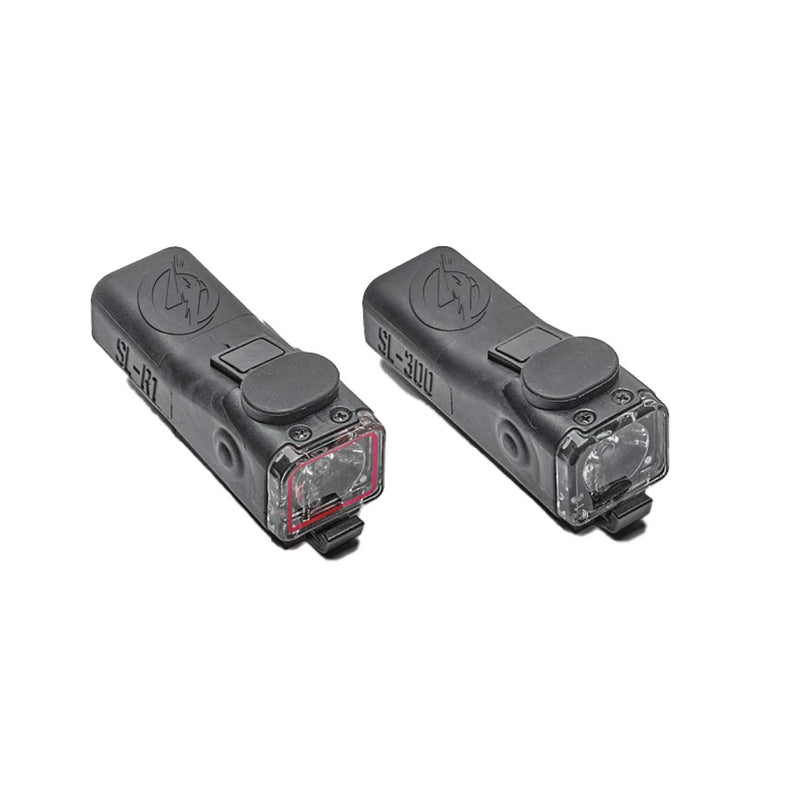
On some boards you can put the bend facing toward the deck to get the lights closer, but on this board the front bash guard blocks the mount so I like putting the bend facing away from the deck to make installing the lights easier. Here is the SL-300 which has plenty of space between the truck and the light when you turn. Then, here is the SL-1000 which is a little tighter of a fit but you can see when the truck turns the contour of the light perfectly matches so it doesn’t make contact. And that’s why ShredLights are shaped how they are! To complete installation on the front trucks just repeat the same process on the other side.

Installing Angled Mounts onto Rear Trucks
Next let’s install the angled mounts onto the rear trucks.
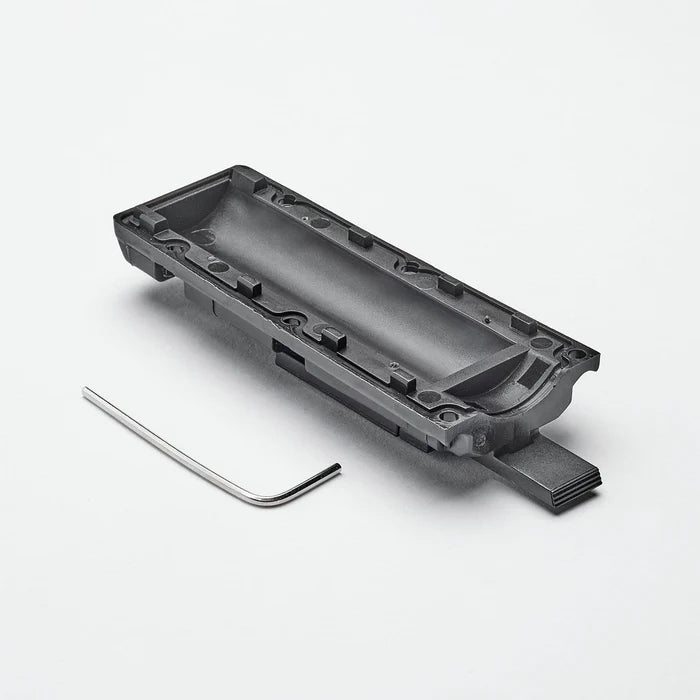
Unfortunately, the standard T-tool that comes with the board doesn’t fit between the motors to access the inside nut, so you’ll need a different wrench or a skinnier T-tool like this one to remove the inside nuts.
Once you get those off, then you’ll need to remove the plastic cable clips that are screwed into the trucks. Again, the included tool doesn’t fit here so you’ll need a longer Alan key to remove these two screws and get the cable clips offs.
Once that’s removed, place the angled mount onto the bolts with the bend facing away from the wheels so it wraps around the side of the deck and motor cable fits into the notch in the mount. Getting the inside nut back onto the bolt can be tricky so I use both hands to lightly tighten it before using the T-tool to finish the job. Once the mount is fully tightened down, it should look like this and do a good job of replacing the plastic motor cables.
Then, repeat the same process on the other side to install the other rear angled mount for the other tail light.

Installing the Flat Sticky Mount underneath the Board
Now let’s install the flat sticky mount under the middle of the board.
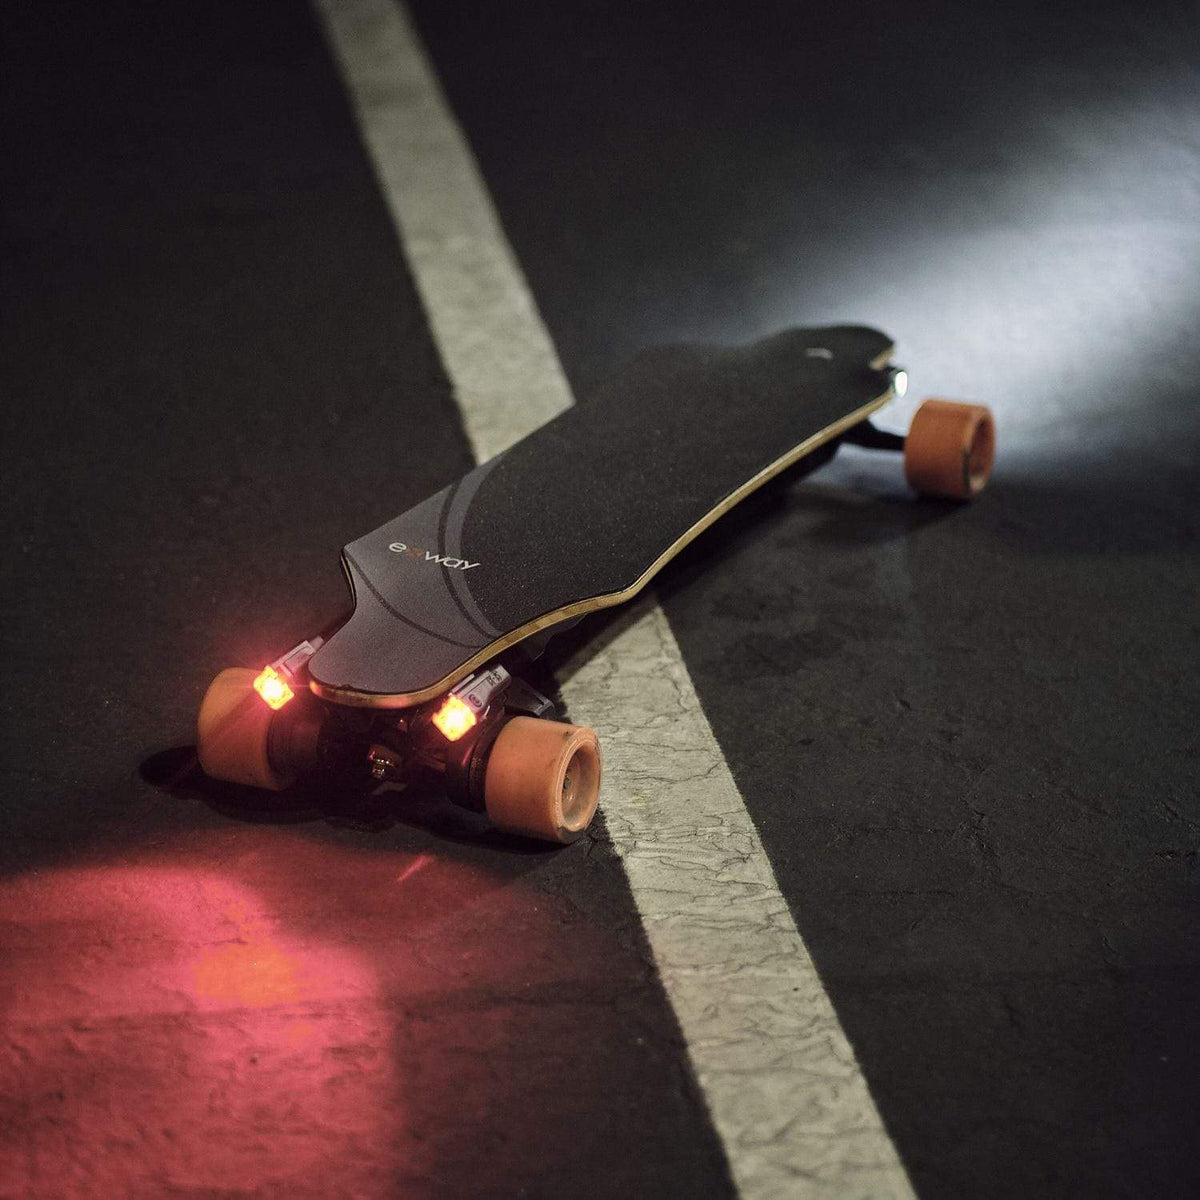
This one is super easy and you just need to give the surface a quick clean, peel back the VHB tape and press the mount firmly down where you want the light to be mounted. I like to put the light in the middle for the most light output and it stays pretty protected here from the battery and ESC since they’ll touch first if you run over a speed bump or go off a curb.